COSC2675 Rapid Application Development
Introduction
This assignment counts for 30% of your final grade. You are required to develop a web application as specified below. It is designed to:
Practise your knowledge of Rails development for production level applications
Practise testing and debugging
This is a group assignment. A group should not have more than 2 members. Individual submission is allowed, but does not receive any extra marks.
In this stage 2, you are required to make changes according to the new specifications from our client and make you application a complete product.
You are required to demo your final product individually in week 12.
Academic Integrity
The submitted assignment must be your own work. No marks will be awarded for any parts, which are not created by you. More on http://www.rmit.edu.au/academicintegrity.
Plagiarism is treated very seriously at RMIT. Plagiarism includes copying code directly from other students, internet or other resources without proper reference. Sometimes, students study and work on assignments together and submit similar files which may be regarded as plagiarism. Please note that you should always create your own assignment even if you have very similar ideas.
Plagiarism-detection tools may be used for all submissions. Penalties will be applied in cases of plagiarism.Client Request
We have shown the first stage prototype to our client, the admin team of School of Science. After some clicking around, they wrote back to us.Dear RAD team
Thank you for the contributions. We really like the application. It is beyond our expectation, sleek and easy to use.
Can we request some changes and add some new functions?
Firstly, the bottom part of the site is not really necessary. I mean the links, contacts etc. It looks busy. Can you make just a link to a separate page such as Contact Us? On that page, user can send comments to our team email address.
Secondly, can you add more functions so it would like a real website? I mean users can register, registered users can add or modify courses etc etc. You know what I am talking about, right?
Sometime the site shows scary error messages if we type or modify the url in the browser, for example …c9.io/courses/1/edit. It would be nice to show some friendly error pages such as Page Not Found, Need to Login.
Also, if that possible to add some admin functions? Only the admin can delete courses and coordinators. An admin should also be able to edit any course and coordinator information.
Thank you and talk soon.
Admin Team, School of Science
Based on the client requests and the normal requirements of a proper Rails application, you need to complete the following tasks categorised in different levels.
You can only attempt a higher level if you have successfully completed the lower levels. E.g. Work for DI Level would NOT be marked if CR level is incomplete or dysfunctional.
===== PASS Level (from Stage 1) =====
Part 1 Guest Page
The homepage of your application may look like this sample page. It should have a “Home” button to always bring your application to this page. It should have a signup button to allow new users to register. Existing users should be able to login through this page as well.
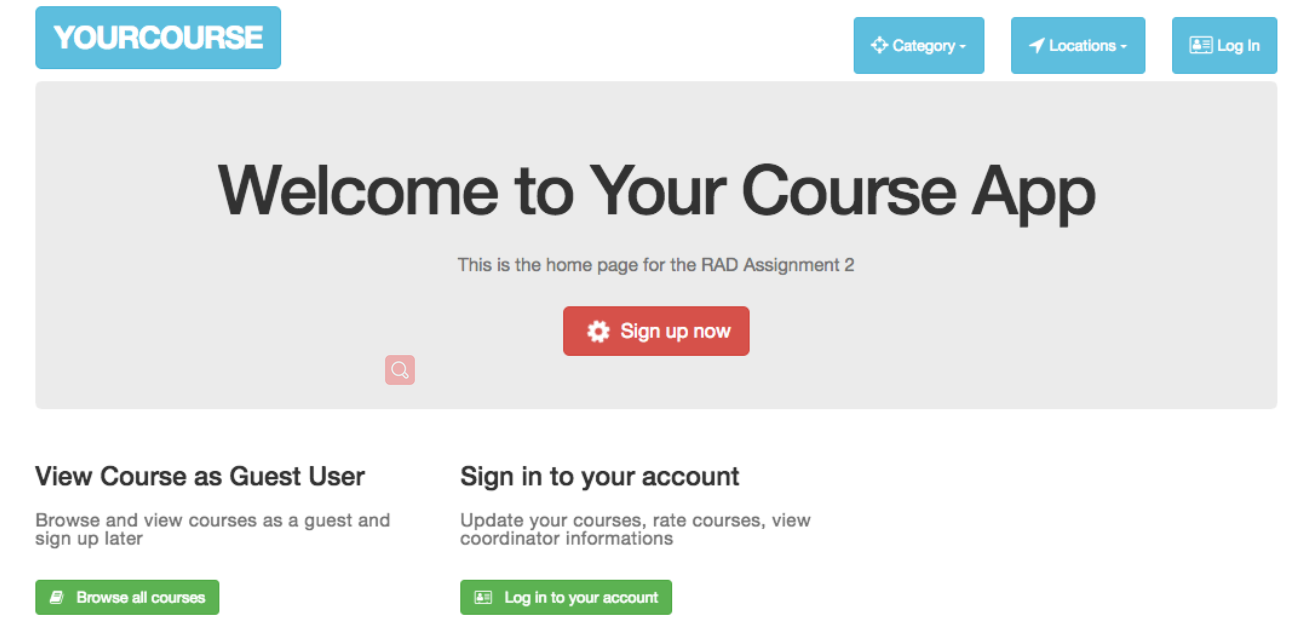
This page should have a footer similar to above example. It allows guests sending a simple message to the webmaster. It shows some static links such as contact details, useful links and social media. Social media links show icons when mouse hovers over them (as shown below).
The homepage should have three buttons in the header, Category, Location and Login. The first two buttons support dropdown menu. They all change appearances when a mouse over occurs.

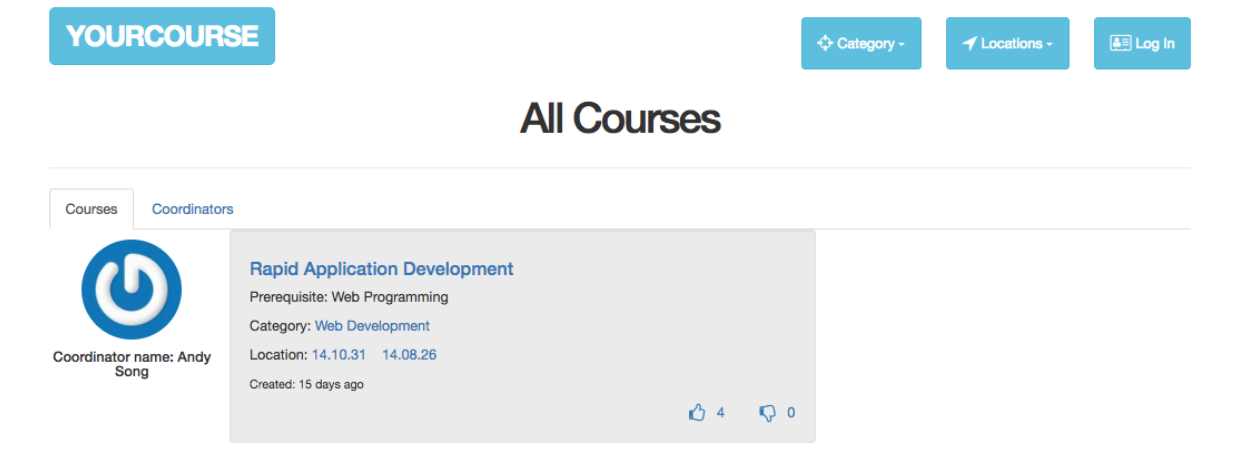
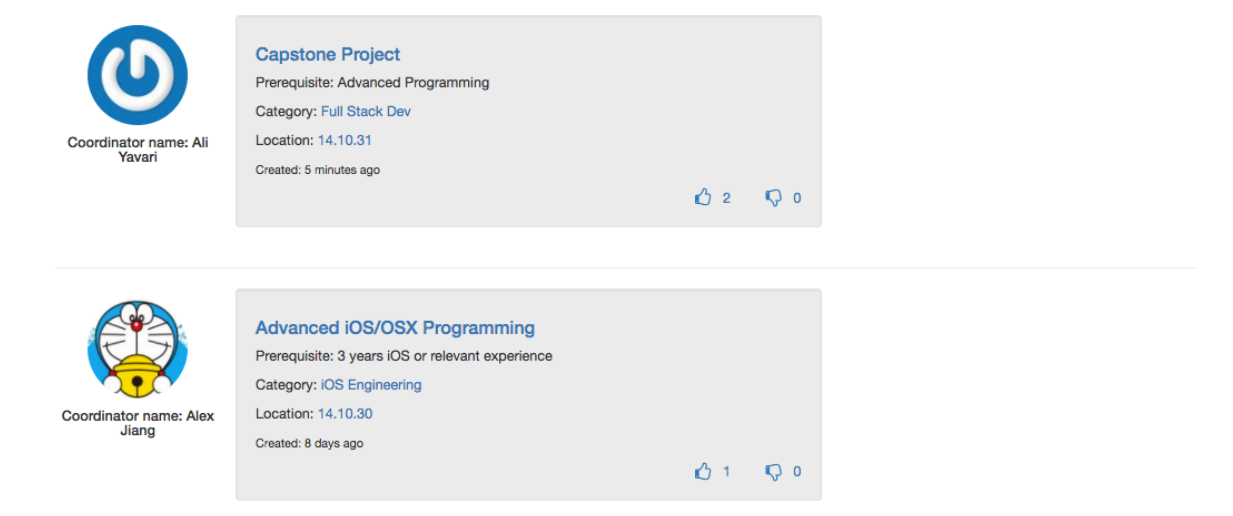
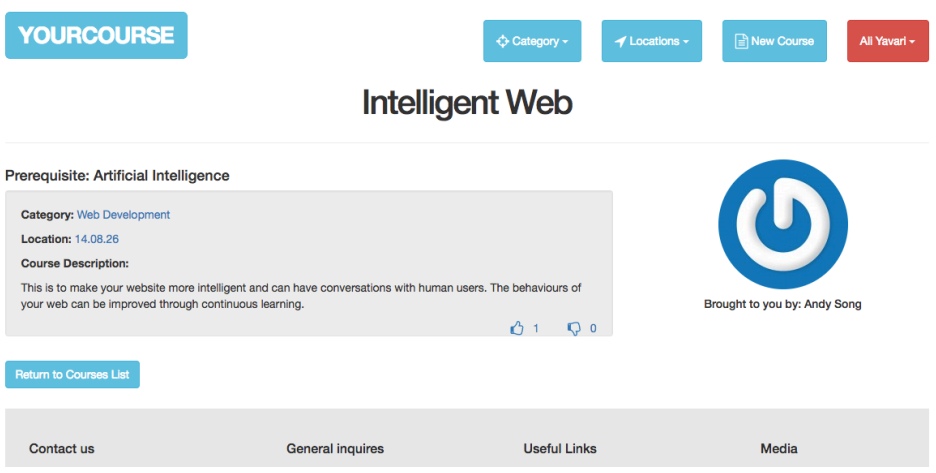
Guests can view all courses by click the “Browse all courses” button. Each course should show its name, prerequisite, category, location and how long ago it was created.
Each course may have multiple categories e.g. “Web Development” and “Full Stack Dev”. One course may also have multiple locations.
Guests can view the number of thumb ups and downs. However they can NOT vote.
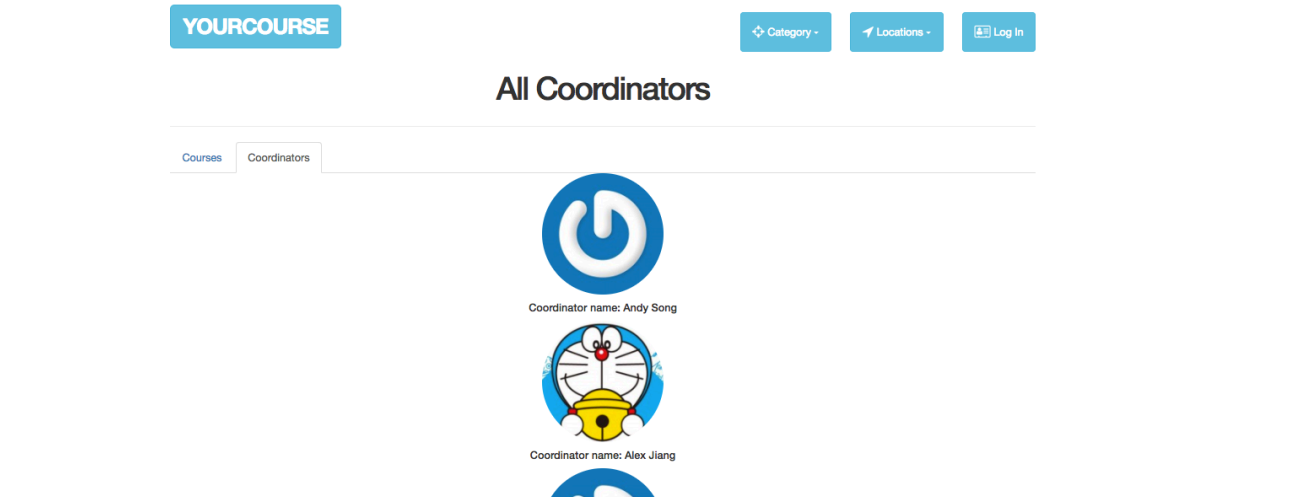
Each coordinator has a Gravatar profile.
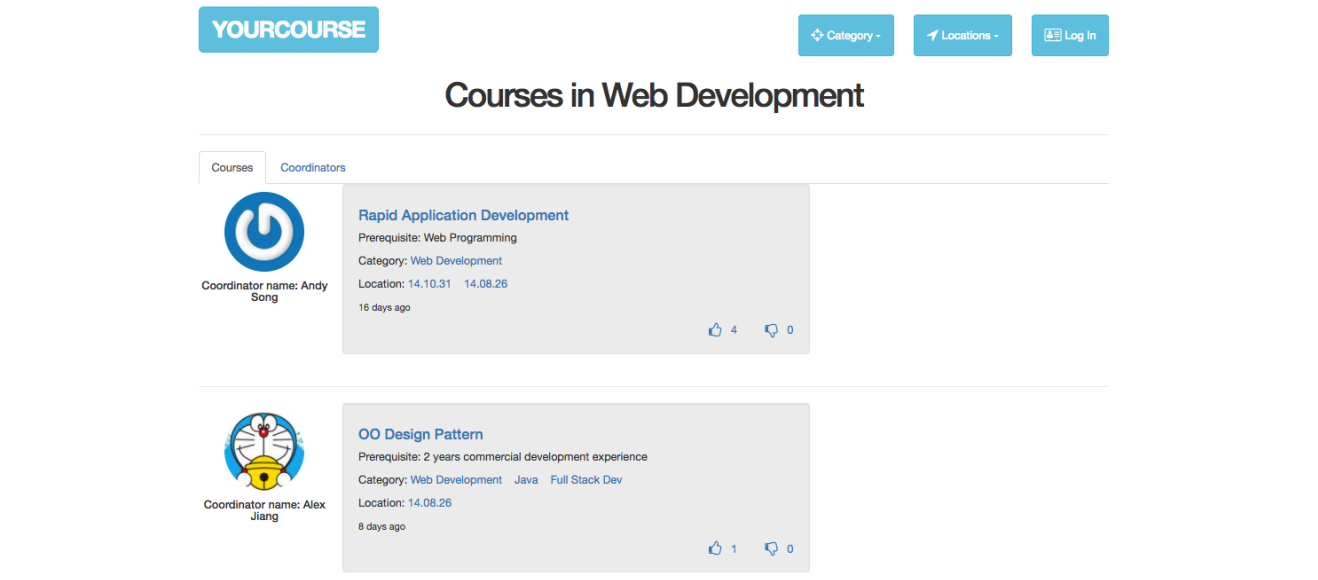
When a certain category is selected, then only the courses under that category will be listed. The following example shows all courses under “Web Development”.


Similarly guests can select a location to list all courses running at that location.
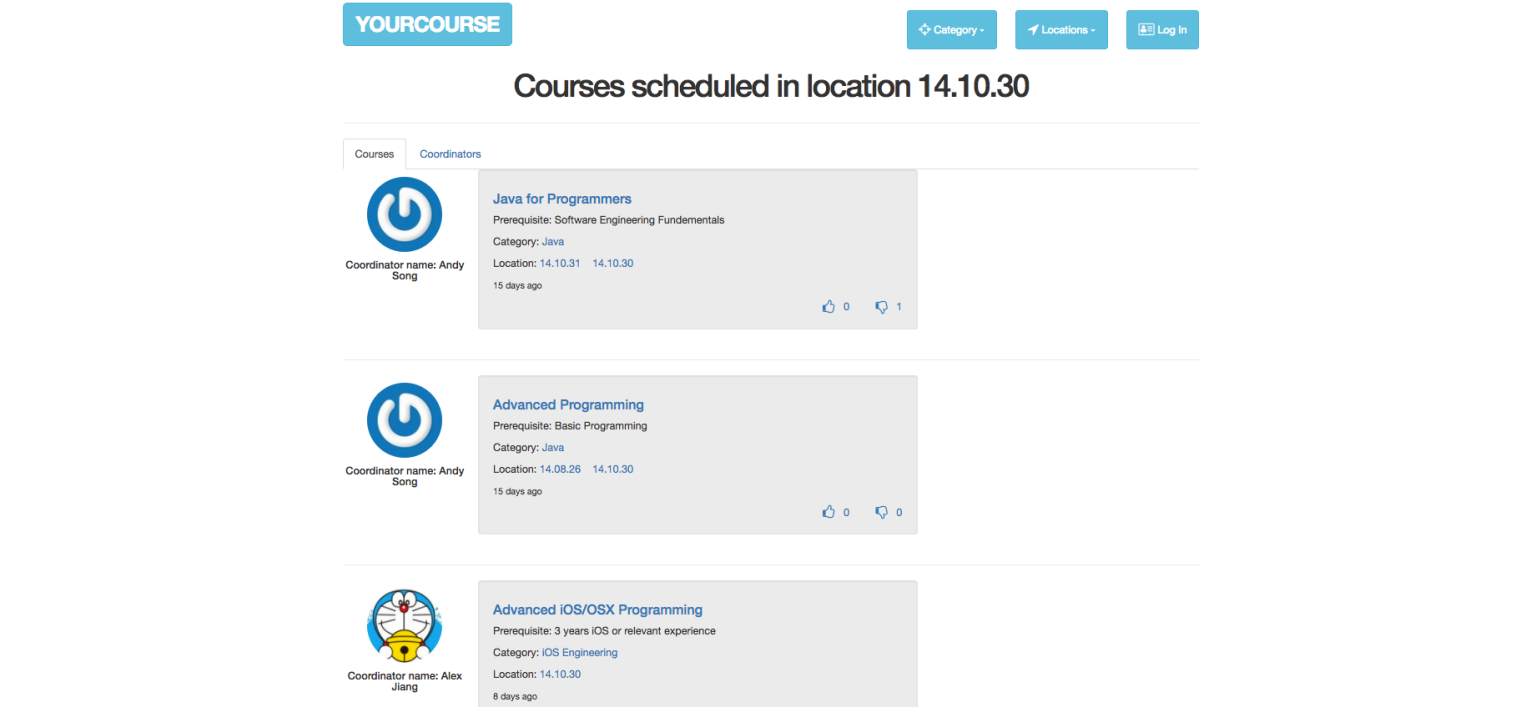 The category and location information of a course should be clickable and can act like the category and location buttons shown above.
Part 2 Signup and Login/Logout
When a user clicks sign up, proper validation should be in place. See the error messages below. Only a RMIT staff, who has a 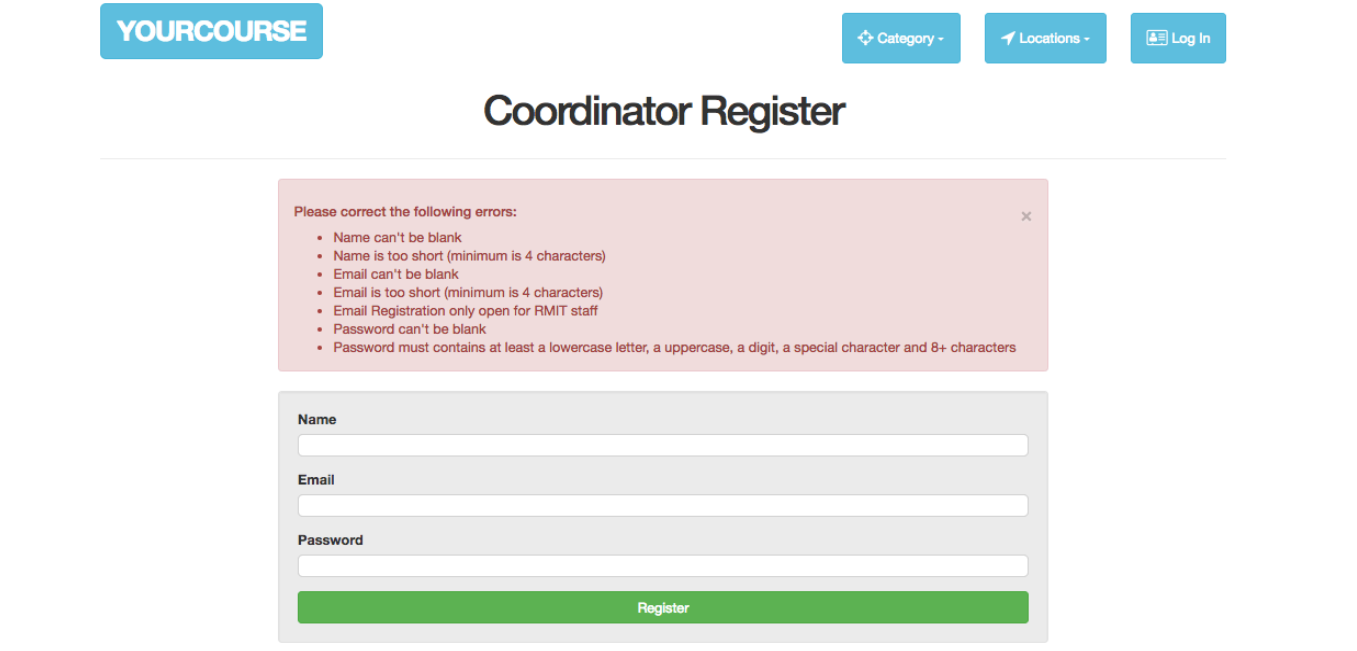
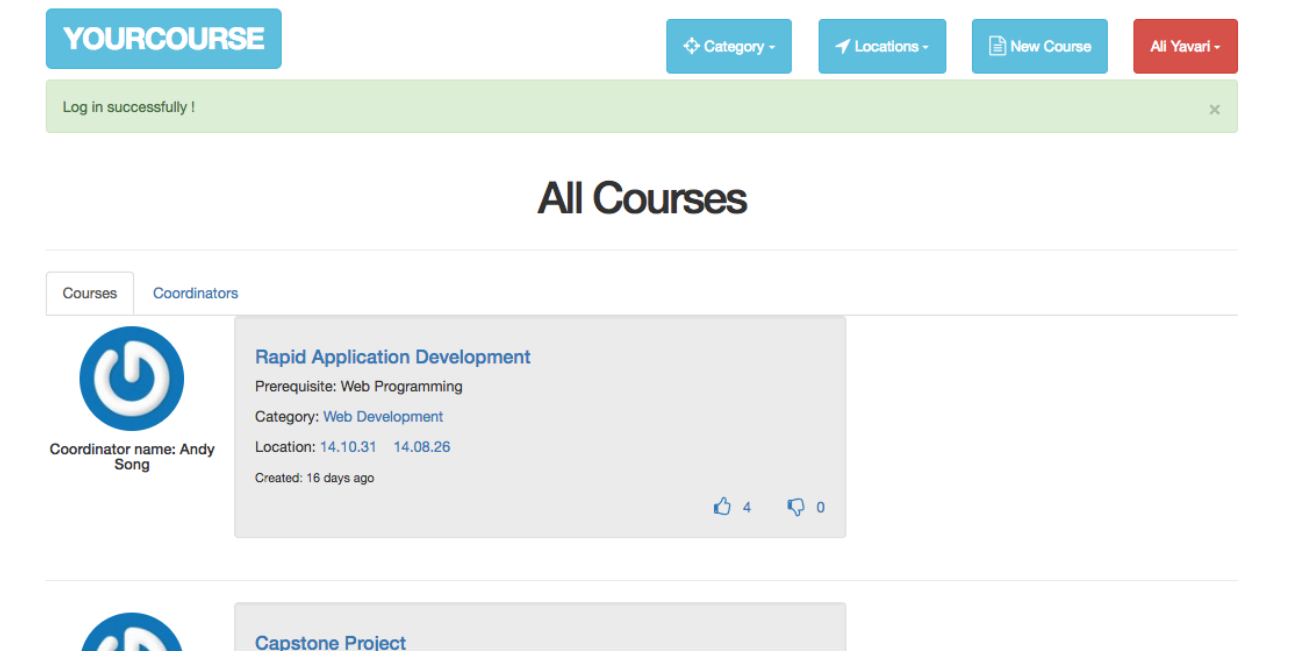
For an existing user, a temporary “login successful” message should be displayed. All the courses will also be displayed to these authorized users.
===== CR Level =====
You need to complete the Pass Level before attempt the CR level and beyond
 Now the user can thumb up or thumb down to any courses. However they can only vote once for one course. An error will occur for the second vote.

For a registered user, the Create button is enabled on the dropdown menus of both Category and Location.
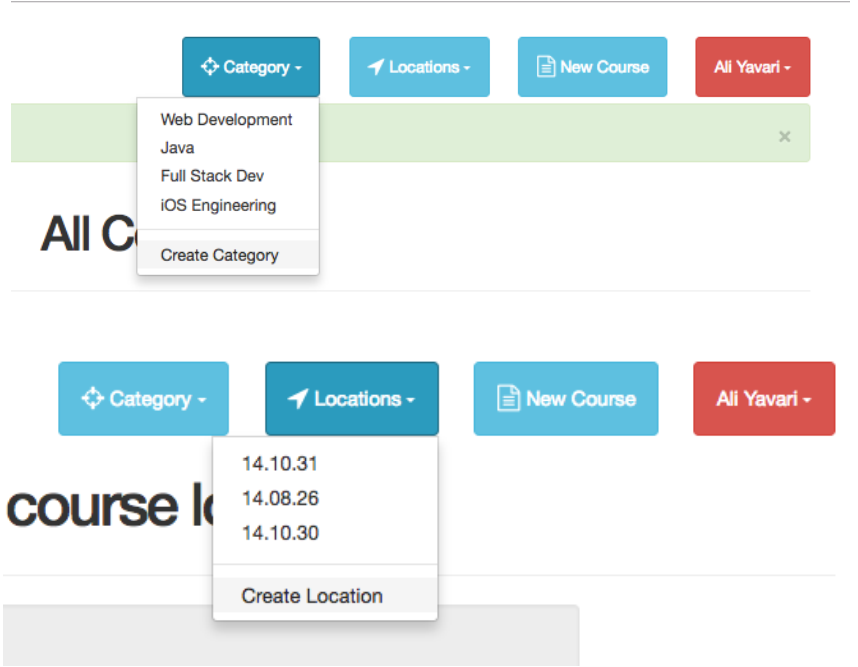
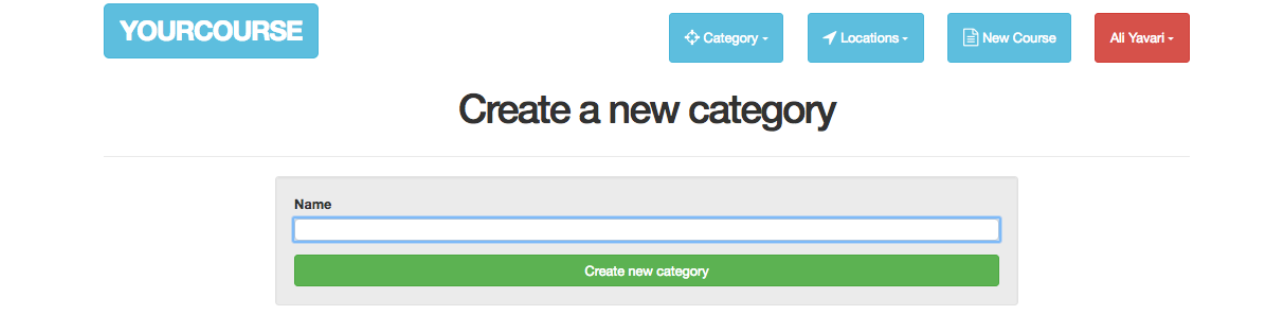
When “Create” is clicked, a form should appear to allow the user to create a new category.
Similarly, a registered user can add a location.
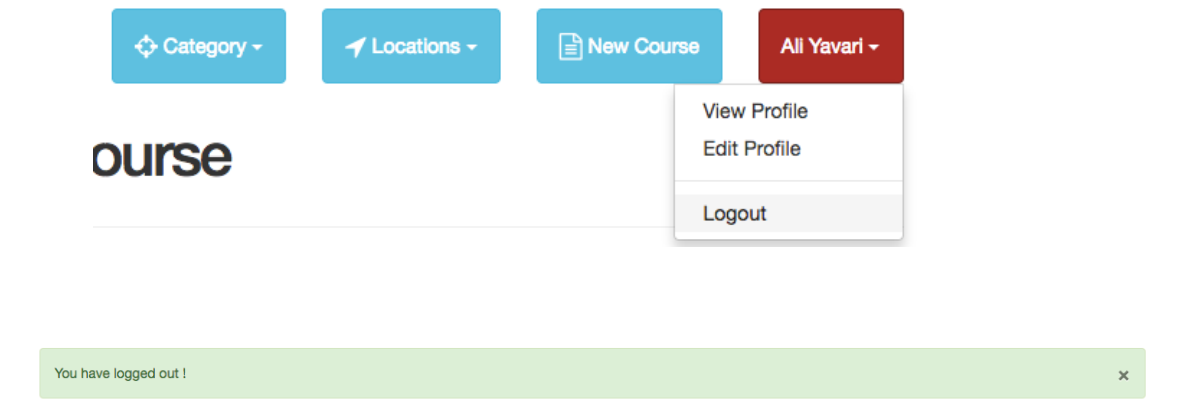
When logout, a temporary message is also displayed. The application returns to the guest mode ( Same as that in Stage 1).
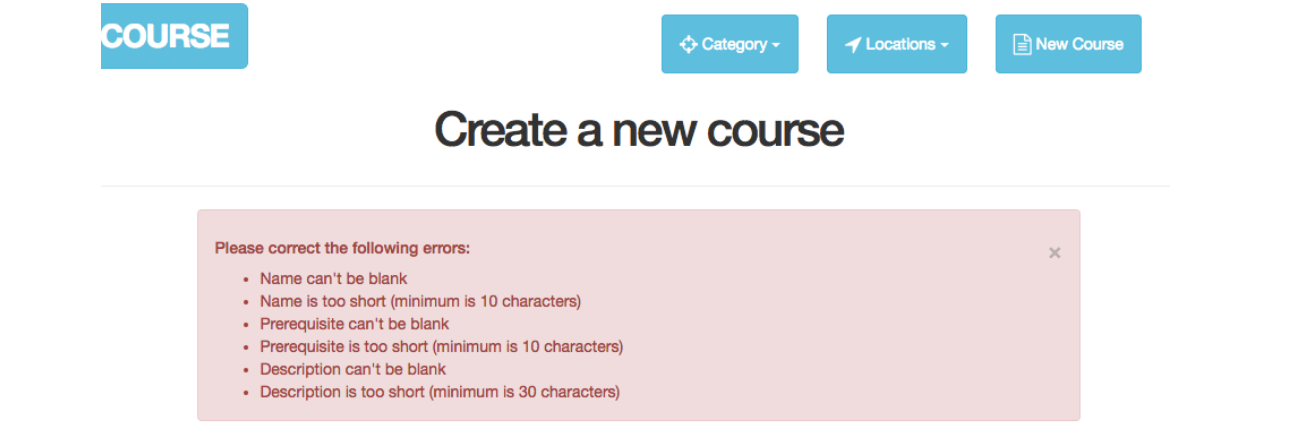
A registered user can also create a new course. The course-creation form also has validation in place. See the error messages below.
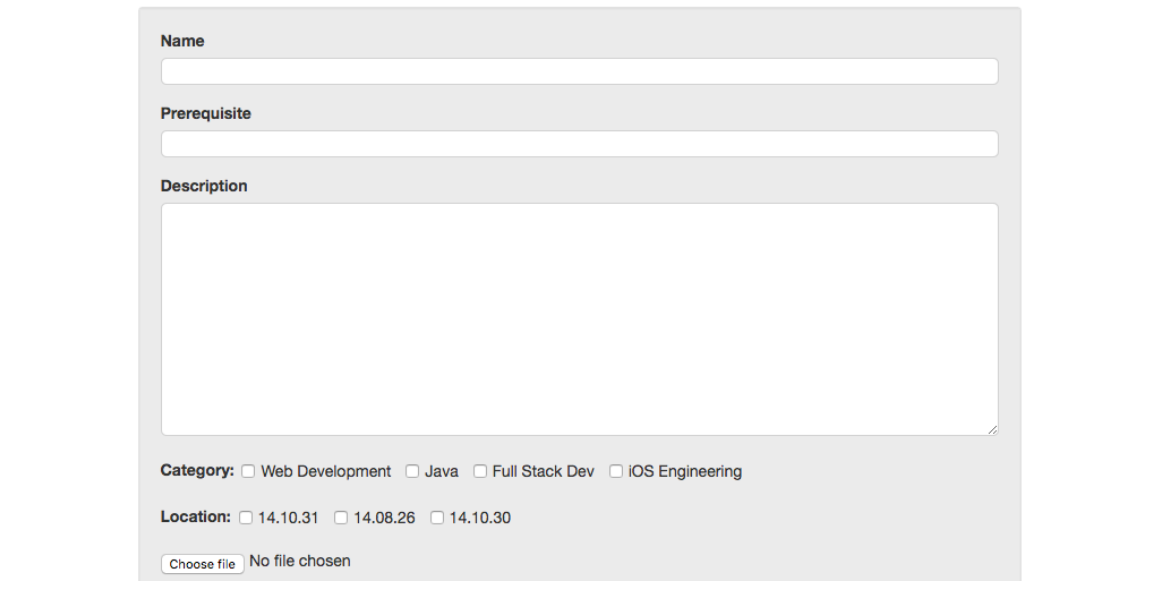
User can select category and location. Note multiple categories and locations should be supported.
An image can be added to the new course.
In addition, the “Home” button for a logged-in user should always bring your application to the list of all courses, not to the homepage for guests
===== DI Level =====
You need to complete the CR Level before attempt the DI level and beyond.
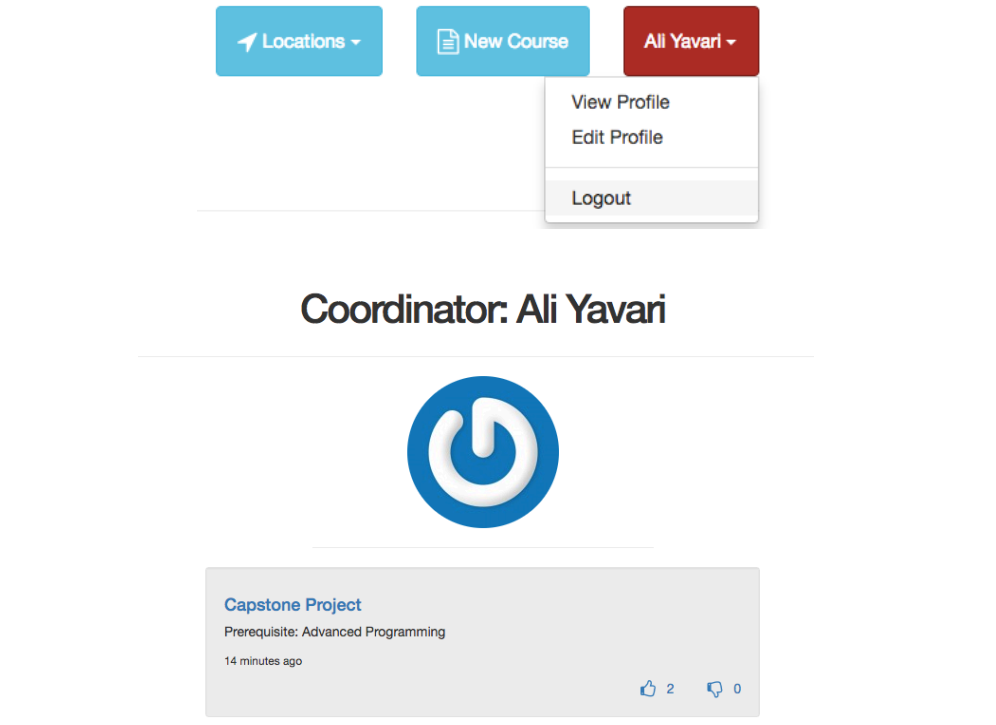
A registered user can vote for any courses, but can NOT edit the course which is NOT created by him/her. For example the course “Web Development” was created by Andy Song, so Ali Yavari should not be able to edit it.
“Capstone Project” was created by Ali, so he does have the edit right.
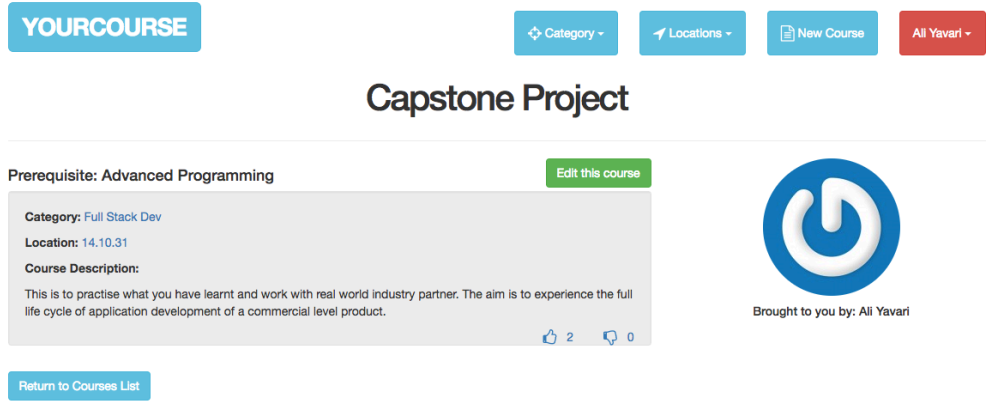
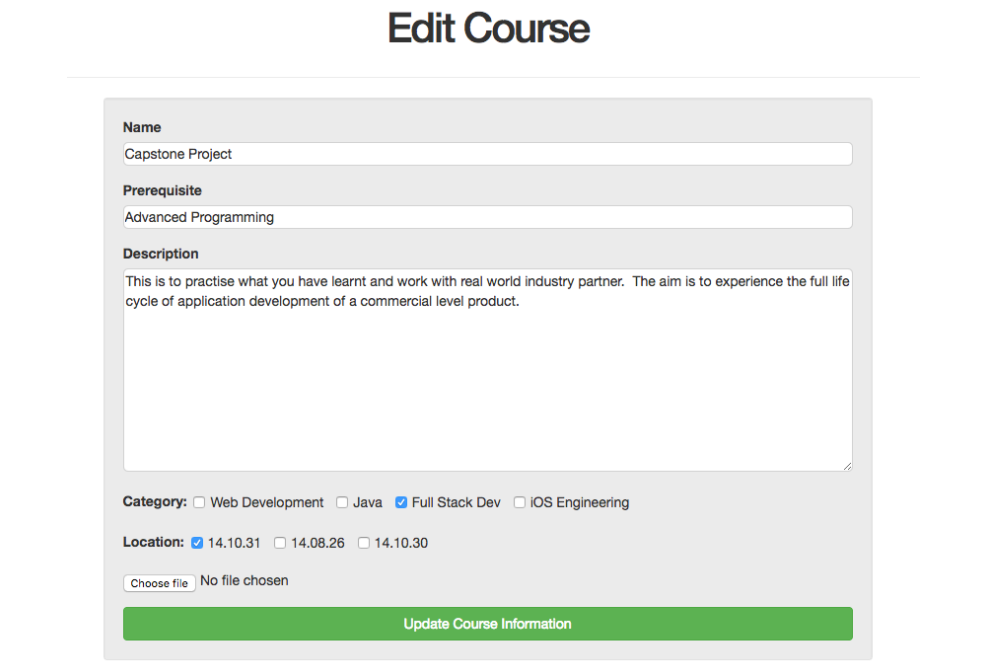
Ali can change everything about the course then update the information.
No user can delete a course.
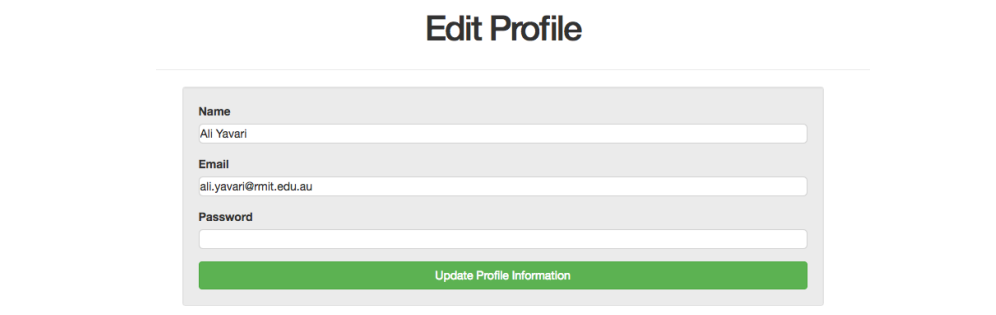
A user can view and edit his/her profile.
Under the user profile, all courses created by this user are displayed, but without category and location information. User can update his/her profile. However same validation as in the signup still apply here.
E.g. they cannot change email to a non RMIT-staff email address, or use a password, which is too simple.
Contact Us
You are required to replace the footer with a link to a new “Contact Us” page where user canfill in an anonymous feedback form. The feedback need to be sent to an email address that you have access, e.g. your RMIT student email account. You may be requested to demo that during the final demo session.
===== 80+ Level =====
Advanced Features
1. If the user types a wrong URL, your application should show a proper message page such as “Oops, we cannot find that page” instead of a Rails error message.2. Make sure unauthorized person cannot vote nor enter course editing pages.
Admin Functionalities
Now add admin functionalities. Admins can add or modify courses and oordinators. Admin can also delete courses, coordinators and reset votes. Admin can manage registered users.
Note if user A has voted for course X and then the votes for course X are reset to zero, user A should still be able to vote for course X after the reset, but only once. You must use the following login for the admin. You can assume admin never change name/password.
Admin user name: admin
Password:
It is up to you how the admin page(s) should look like and how these functions are arranged.
===== 90+ Level =====
Images
In the previous levels, course images are stored inside of Rails, which is not really a good idea, because these images may not be placed at a permanent folder at deployment and may be lost. To improve the quality of the application, it is better to store these images on a thirdparty server such as AWS. You are required to implement this feature.• https://devcenter.heroku.com/articles/s3
• AWS Simple Storage Service, e.g. S3, is a “highly durable and available store” and can be used to reliably store application content such as media files, static assets and user uploads. It allows you to offload your entire storage infrastructure and offers better scalability, reliability, and speed than just storing files on the filesystem.
API
Your application should support API calls from external sites to retrieve course info, coordinator info, course list and coordinator list. See the following site for example.• https://about.coursera.org/affiliates
• Developers can get coursera catalog metadata and list courses in their rails application through the URL provided, which is free to join
Additional Notes
1: Your application is expected to be production ready. Proper test and data validation should be embedded in your application regardless of the level that you are attempting.
2: There is no need for your application to look and behave exactly like the above example. You can make necessary adjustment to improve the design. However the aforementioned functionalities are the minimum requirement and should be well supported.
3: Only the following GEMS should be used in your application.
gem 'rails',
gem 'bootstrap-sass',
gem 'puma',
gem 'sass-rails',
gem 'uglifier',
gem 'coffee-rails',
gem 'jquery-rails',
gem 'turbolinks',
gem 'jbuilder',
gem 'carrierwave', '
gem "mini_magick"
gem "font-awesome-rails"
gem 'bcrypt',
4. You are required to deploy the final version onto Heroku.
5. In the README.md file of your application, you should state
- Name(s) & student number(s) of the development team
- The highest level you attempted, e.g. CR, DI or 90+
- The time sheet for each team member (see Point 6 below)
- Heroku deployment URL and the last Heroku deployment log
6. For stage 2, you are required to keep track of the hours that you spent on the developmen including testing, discussion, reading.
For one professional developer working alone, the expected completion time is about 4 full days.
For time tracking purpose, we recommend toggl.com, a free online time tracker. You can sign in with your RMIT student account (under “SIGN UP WITH GOOGLE”). This log needs to be included in the README.md file (See Point 5 above).
7. Your assignment should hosted on a PRIVATE bitbucket or Github repository named as RAD19_group_{studentNumber_small}_{studentNumber_large} for a two-student group
RAD19_indiv_{studentNumber} if you work alone. You should update your repo as frequent as possible.
If you have completed Stage 1 and would like to start working on Stage 2 before your Stage 1 Demo, you can make a brand called “stage1” to store the stage 1 version.
Submission
- This assignment should use PRIVATE bitbucket or Github respository to host all yourRails files
Create a private repo named as RAD19_group_{studentNumber_small}_{studentNumber_large}
or individual RAD19_indiv_{studentNumber}
ONLY ONE submission for each group is needed. For duplicate group submissions, we will randomly select one to mark.
o Make a branch called “submission” for the final submission
o Invite the following people as default reviewers to your project
- [email protected]
o Make a pull request to merge your branch submission to branch master and include the following default reviewers (to ensure our access)
o This assignment will attract additional marks for individual lab demonstration.
- Warning
o You will receive ZERO mark if you don’t host your assignment in bitbucket or Github before the due day (see details later).
o You will receive ZERO mark if your application fails to run (see details later).
2019-05-04