Assignment 1: Creating Images in Processing
In this assignment, you will write code to create four different images. Coding images in this way is not the most effective use of processing, nor is it probably the best way to create simple images like this. A drawing program is well suited to that. However, this is an exercise that you can do with relatively little knowledge of Processing and it is a great way to become familiar with Processing, basic drawing commands and working with the pixel grid. It will sharpen your skills so you are ready to go when we really start tapping the power of Processing.
For each of the three challenge images below, write a processing sketch that comes as close as possible to matching the image.
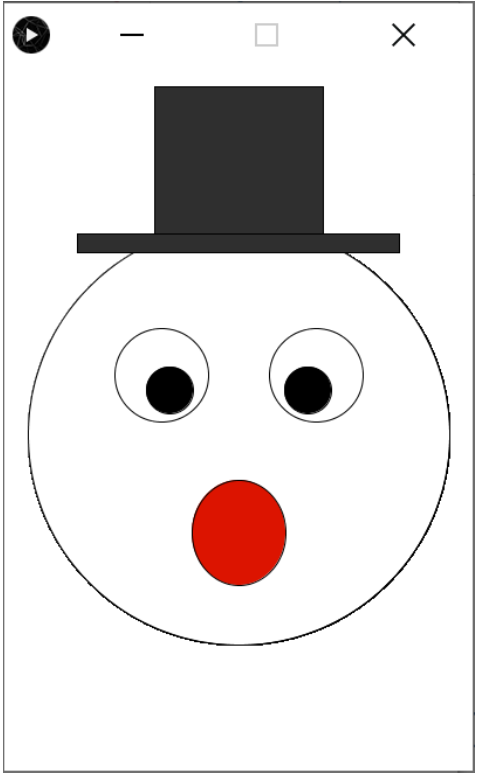
Challenge 1: Top Hat
I used all ellipses and rectangles for this one.
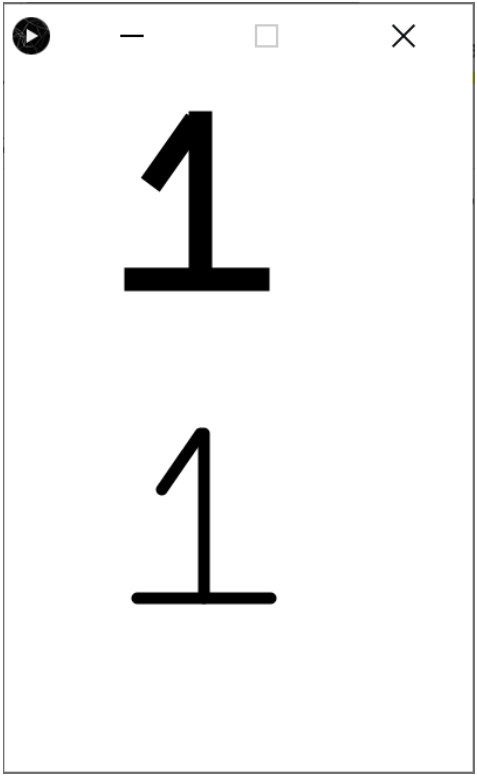
Challenge 2: Two Ones
Draw each of the digits differently to learn different skills. For the top one, use rect() as your drawing command and use the translate() and rotate() transformations to place the rects. Since transformations build on each other, it can get confusing to apply one transformation on top of the next. A good way to get around this is to save the default state and then go back to it after drawing each rectangle. This allows you to think in terms of the transformation needed for the current rectangle, without remembering all the previous transformations. You can do this by using the following code:
pushMatrix();//save the current transformation on the stack
//do your transformations
//draw a rectangle
popMatrix();//restore the previous transformation state from the sack (i.e. reset to the initial state)
For the second house, use the line() command to draw it and don’t use any transformations.
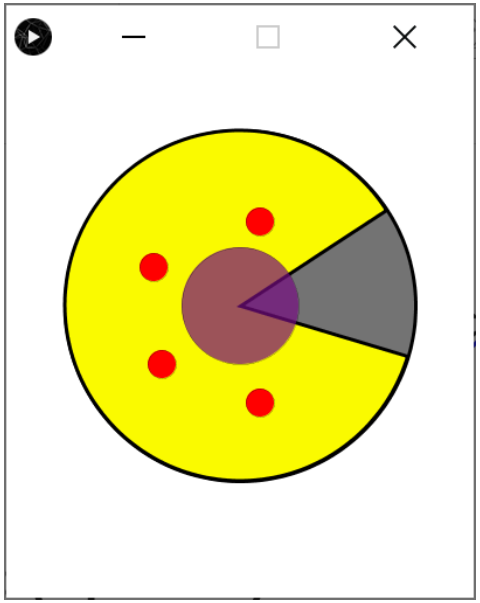
Challenge 3:
For this one, read up on the arc() command in the Processing reference. Note the use of transparency.
Drawing 4: (Optional)
Create your own image using Processing’s drawing commands. If you weren’t able to get one of the images correct, you can earn up to 15% bonus marks by submitting a creative drawing and the Processing sketch that generated it. (The max grade for the assignment is still 100%.)Code to make your sketch save the image when you click on it with your mouse:
void mousePressed()
{
save("snowman.jpg");
}
Submission:
When processing saves a sketch, it creates a folder with the name of the sketch and then saves the sketch code as a file (a .pde file) in that folder. You should submit both the folder and the sketch file for every assignment, along with any other required files.
For each program, save an image of your output in its sketch folder. Use the save function we looked at in class (repeated above) to create the image file. To submit your work, create a single zip file that contains all three of your sketches1 and attach them to your submission in Canvas.
Here are the instructions on how to submit an assignment with Canvas:https://guides.instructure.com/m/4212/l/54353-how-do-i-upload-a-file-as-an-assignment-submissionin-canvas
1 To do this on a PC, go to the folder that contains all three sketch folders in File Explorer. Select them all. Right click on them and select “Send To -> Compressed (zipped) Folder”. This will create a zip file. Rename it A1_YourName.zip.To do this on a Mac, go to the folder that contains all three sketch folders in Finder. Select them all. Right click on
them and select “Compress 3 Items”. This will create a zip file. Rename it A1_YourName.zip.
2020-01-10